Coconut Yogurt Recipe
Creamy, tangy and loaded with probiotics. A tasty dairy-free yogurt alternative.
Ingredients
- 25 ounces canned full-fat coconut milk
- 10 ounces canned coconut cream
- 1 packet yogurt starter
- 2 teaspoons beef gelatin
Instructions
- Heat the milk: Pour the coconut milk and coconut cream into a medium saucepan. Heat the milk and cream over medium heat to 110 degrees F, stirring occasionally. You can use a handheld digital thermometer to help measure the heat of the milk, which should heat fairly quickly, within a few minutes. If you accidentally overheat the milk, simply set the pan aside off the burner and allow it to cool down to 110 degrees F.
- Blend: Once the milk is at a stable 110 degrees F, pour into a large blender and add your yogurt starter and 2 tsp of gelatin. Blend for 30 seconds at medium high speed until everything is fully incorporated.
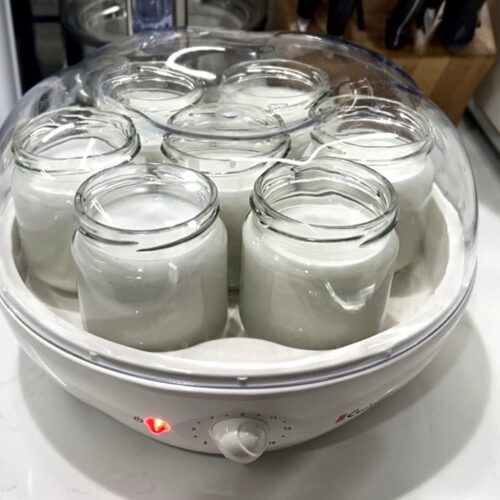
- Ferment: Carefully pour the milk into your jars and place them into the incubator, uncovered. Once all jars are in place, close the incubator with the lid and leave your yogurt to sit anywhere from 16-24 hours, depending on how tangy you like your yogurt. Once your yogurt has fermented for at least 16 hours, you can remove the jars from the incubator. You may see some separation of the coconut water and the cream, with a slight skin on top of the yogurt, which is normal.
- Store: You can refrigerate the yogurt immediately, but you will have a much better consistency if you use a small handheld frother or fork to gently stir the separated yogurt back together in the jars before refrigeration. This will help the gelatin set the yogurt for a creamier consistency.
Notes
When making homemade yogurt, it’s always important to ensure your equipment has been well cleaned and sanitized to prevent any contamination with bacteria. You’ll also want to make sure you read the instructions of your specific yogurt incubator before beginning this process.
Equipment
hand frother optional
Nutrition
Carbohydrates: 9g | Protein: 4g | Fat: 45g | Fiber: 2g
Did you try this recipe?
Don’t forget to leave a comment below and share your thoughts!
